


The DSS&A M19 Restoration
by Jeremy Winkworth
I got off to a slow start in 2004, it being July 4th before I could find any time for restoring a 1940 ex-DSS&A/Soo Line Fairmont M19.
A little history to start: it came out of a barn close to Marquette, Michigan after 30 years of storage. This city was where the main shops of the Duluth South Shore and Atlantic Railroad were located. The build sheet (click here to see it) for the car revealed that it was an M19 series D car #149147, shipped from Fairmont, Minnesota to the DSS&A storekeeper at Marquette, Michigan on June 11, 1940 via the Milwaukee Road. The engine however was #86118 shipped to Marquette on March 31, 1950 via the Omaha Road (click here to see the engine build sheet). Given the new engine and complete replacement of the box over the engine, it appears that the car had been involved in a significant accident and required repair. The cost-conscious South Shore had used existing materials at hand and made them fit.
|
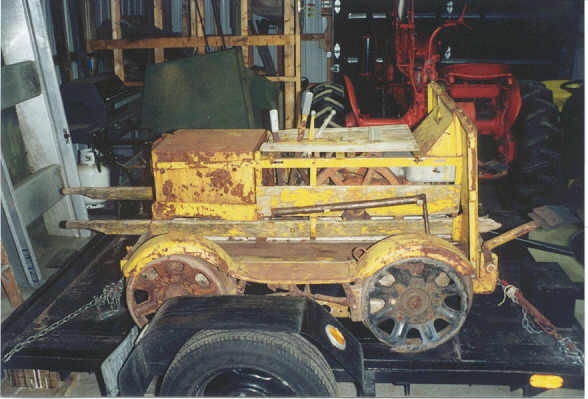
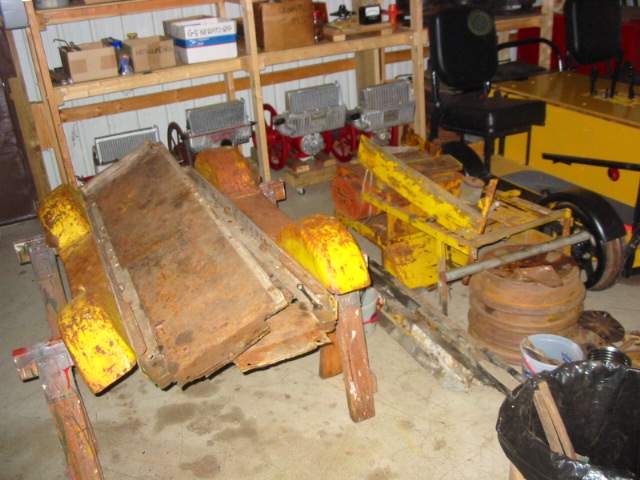
Here is the car in "as bought" condition. Pretty rough but complete. The first question was whether to restore is "as is" or "as built". Mike Mitzel wanted to see it restored totally "as is". Hmm, hasn't Mike led me into trouble before. I decided to go with "as is". |
|
Eric Schwandt rebuilt the ODB engine for me. Here it is after rebuilding and restoration. |
|
With lots of penetrating oil, I got the front and the engine tunnel off the car. It wasn't too bad, as the bolts were not rusted to the nuts. |
|
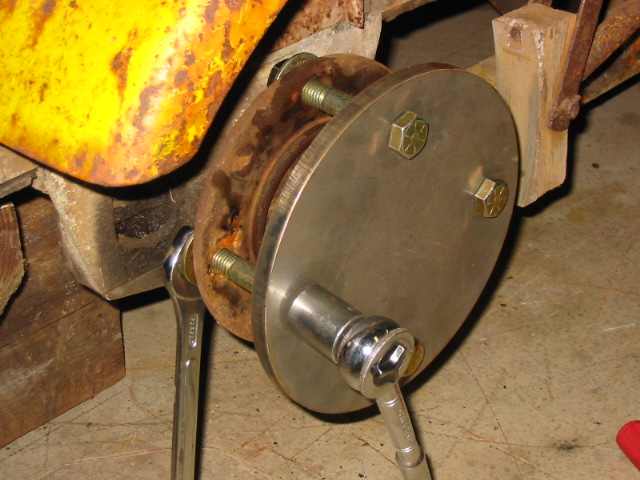
I must be living right! The wheel and axle end bolts came off just fine. No brute strength or great heat needed. |
|
Here I'm pulling off the hubs. There should be a statue of Les King somewhere to recognize how valuable his hub puller is. Tighten each bolt a little bit, go on to the next one and do same. Don't be right in front of the hub because it may come off with some speed. |
|
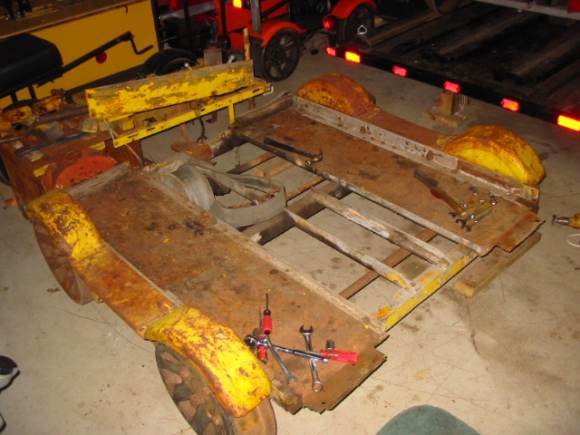
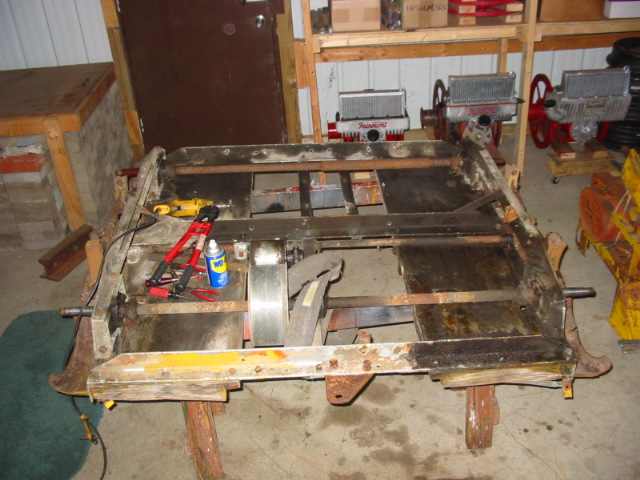
Wheels and hubs off, the car is then flipped on it's back to have all the rest of the components removed and the frame dismantled. |
|
Now the axles, bearings and brake rod are off. We are down to the frame and floor. |
|
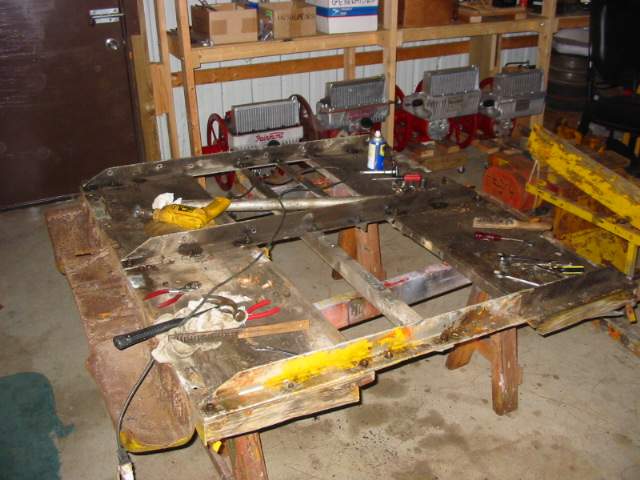
The cross-frame members are off. Those rusty old floors are close to being history! |
|
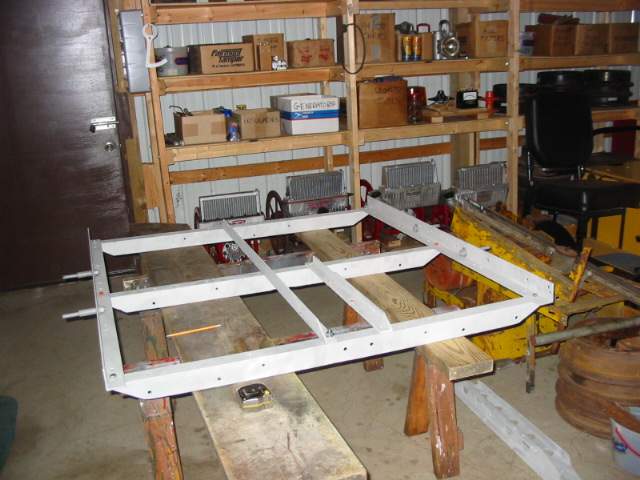
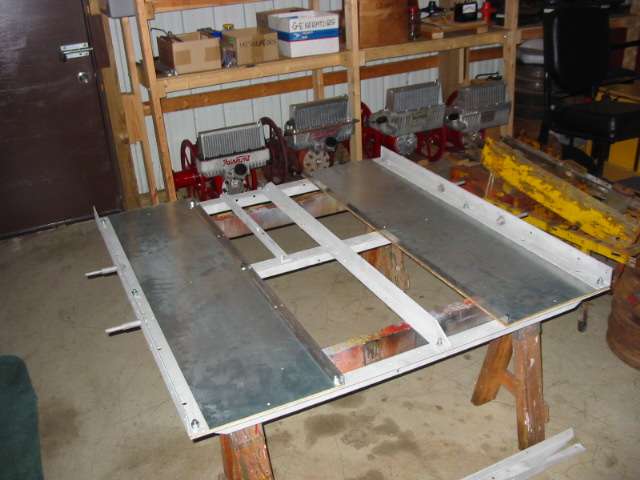
The frame members have now been sand-blasted and I'm starting to put them back together. |
|
Here are the floors installed. These are reproductions of the original "ply-metal" floors used by Fairmont, sheet steel glued to plywood. And so ended 2004. |
|
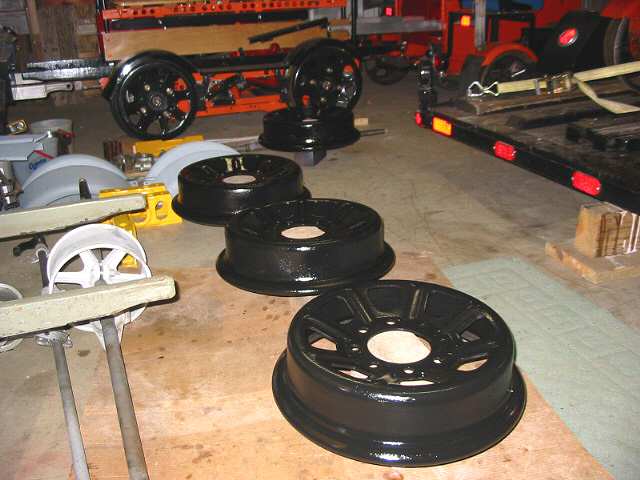
I took the winter off but I'm back to it in late spring 2005. After 3 trips to the local company that lets me do sand blasting for $12 an hour, I got almost everything cleaned up. Here are 4 painted wheels. I used Gloss Black Rustoleum, which is rugged and long lasting. |
|
I decided to go with Transport Yellow at Tractor Supply for the car color. They have spray cans and brush-on enamel. I bought supplies of both. Transport Yellow is is a rich yellow similar to Old Caterpillar Yellow. Motor cars ended up in every shade of yellow you can imagine. |
|
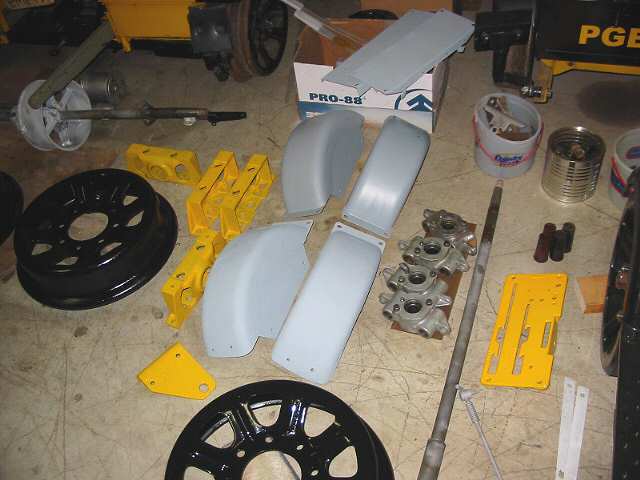
Here are some of the parts painted in primer or yellow enamel. Painting all the components is the part of the restoration that takes a while. |
|
|
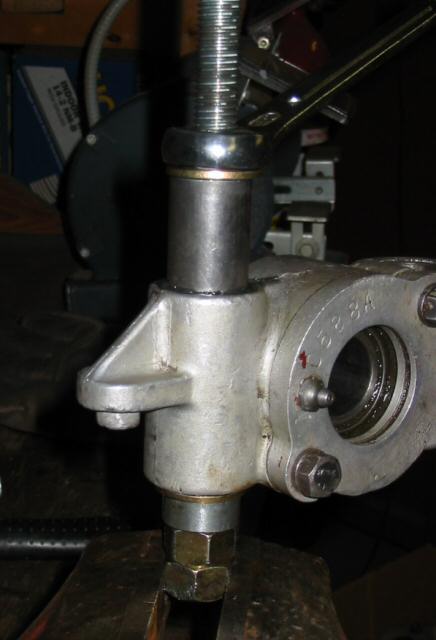
Here is another invaluable tool sold by Les King. It allows you to push out the old, sometimes very worn, bearing bushings out of the housing and insert new ones. Always check the play in these bushings. I found four decent bearings on the shelf but needed to change out four of the bushings. Check out Les's web site at: http://www.leskingmotorcars.com/ for this part and many others. |
|
|
The bearing casting for this car is different to any I've seen before. It is Fairmont Part # 18078A. Fortunately, the four castings were in decent enough shape and only needed a little welding on a corner of one of them. I would imagine they are very hard to find! |
|
|
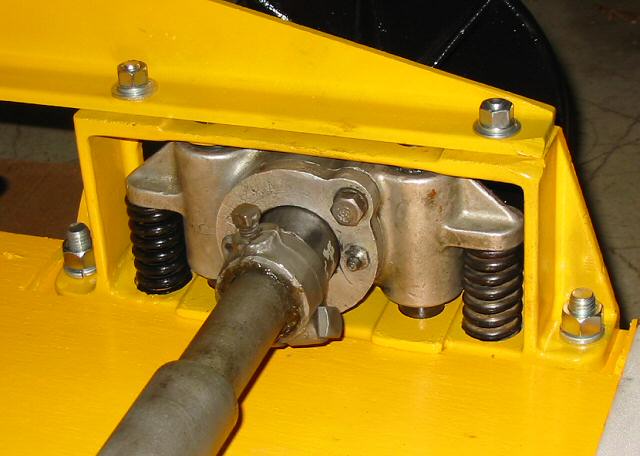
Here is the bearing housing and springs inside the casting. Compare this with the standard Fairmont setup used from the mid-40's onwards at: http://www.winkworth.us/motorcar/narrowcar/ngauge_rest11.jpg |
|
|
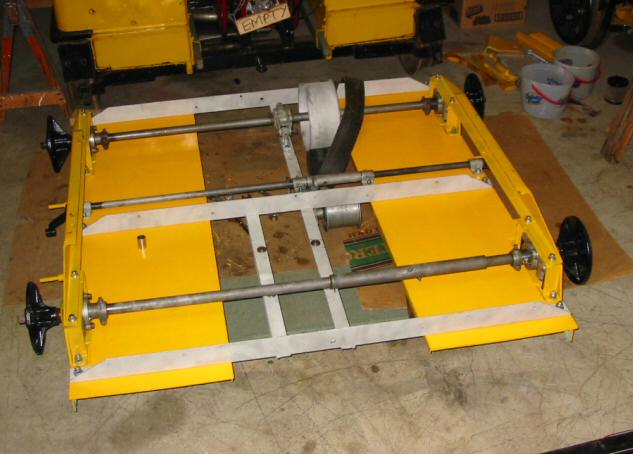
Finally in late August '05 some visible progress!!! Here are the frame and floors being assembled with the sub frames, bearing and axles in place. |
|
|
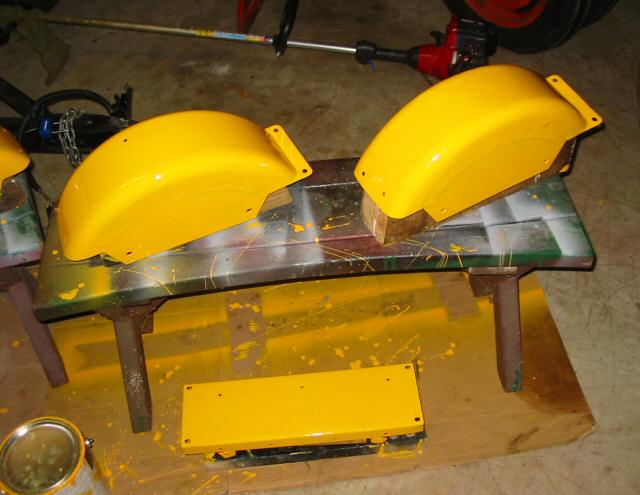
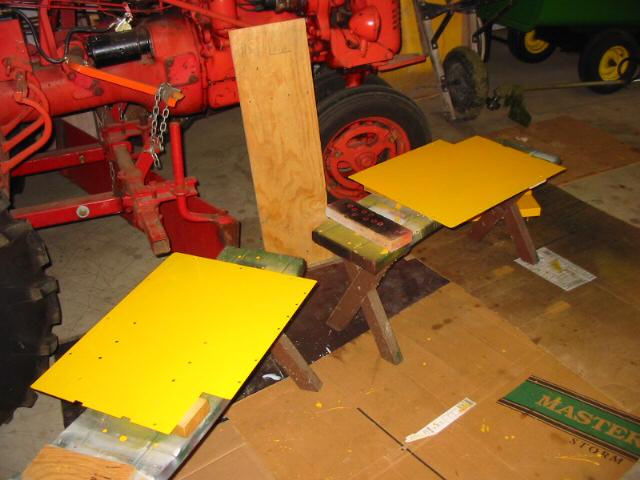
I brush painted the fenders and step plates with enamel before the weather started to cool off. You can do a good job of brush painting if you do it right. |
|
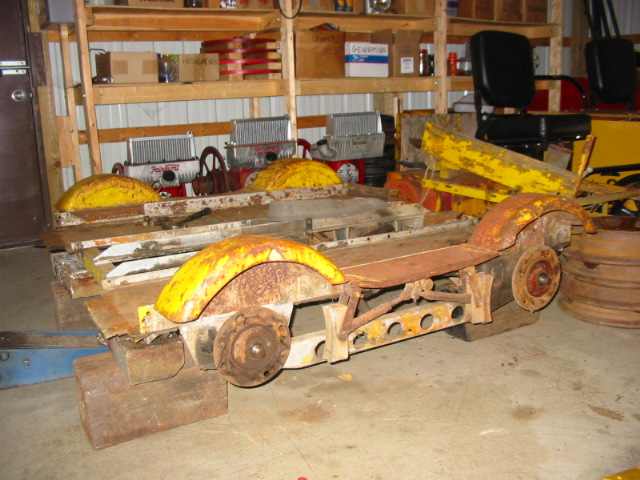
On October 1, 2005 the frame was turned over. The fenders and step plates were bolted onto the frame members and the wheels attached. The car was back on its wheels! |
|
|
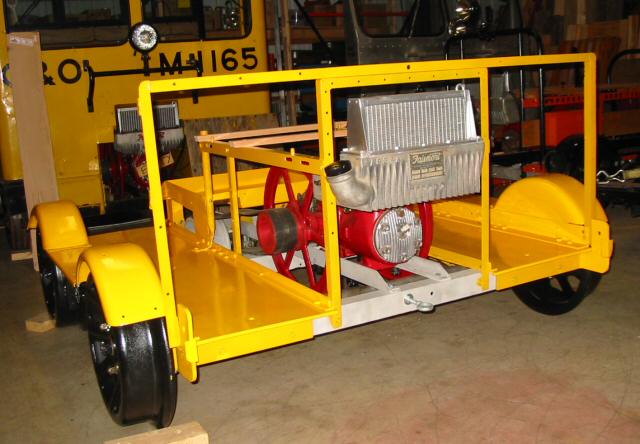
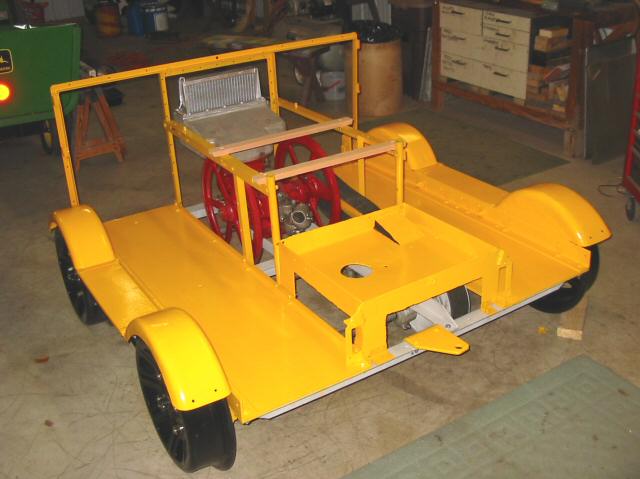
Here's some progress - the engine is back in, the front frame is painted and back on, as is the tunnel support frame. |
|
|
Remember that this car was rebuilt by the DSS&A in true Yooper railroad style, with scraps laying around the Marquette, MI headquarters. The rear end is especially true of this, being a custom welded steel platform. This is as far as I got in 2005. |
|
|
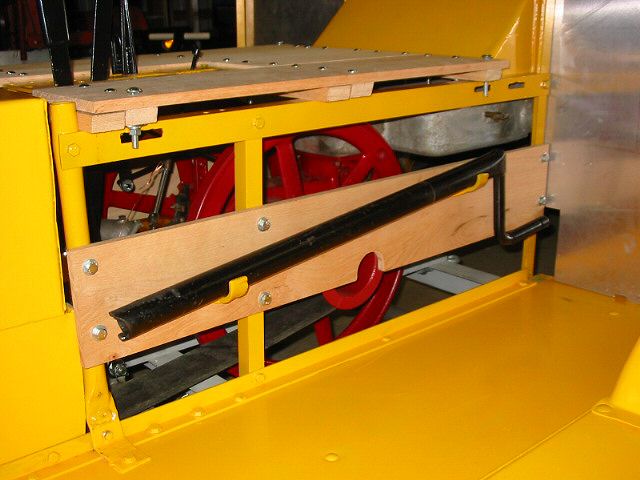
In 2006 it was time for the wood work! I used some 1/2" x 6" red oak for the tunnel sides and deck. I've painted and bolted on the holders for the starting handle too. I'll likely varnish this oak. |
|
|
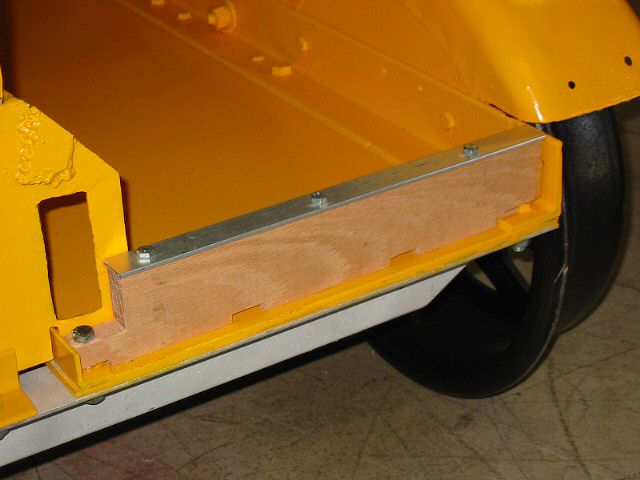
Here is the wood at the rear of the car, red oak with an aluminum top strip. |
|
|
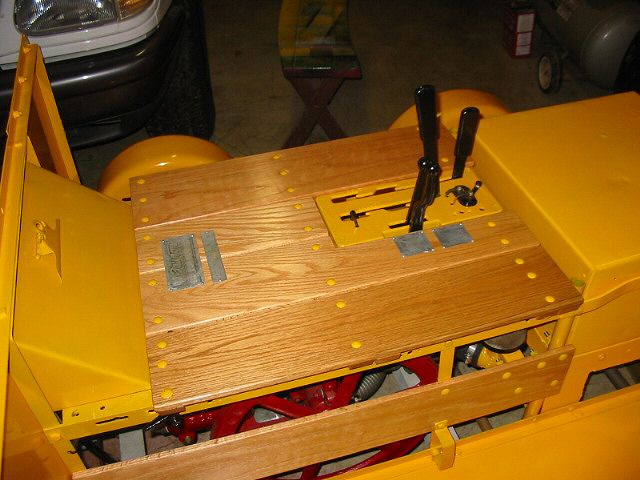
And here is the deck in process of being constructed. I have yet to add the deck latches, then it all gets taken apart to be sanded and varnished. |
|
|
The front of this car was decidedly non-original thanks to that DSS&A rebuild. I replaced the two rusty steel panels with some aluminum ones. |
|
|
The carburetor is now in place with the air filter on the right and the mixture screw connected. |
|
|
Here is the knife switch taken apart and in process of being cleaned up. I'll paint the base black and leave everything else bare metal. These knife switches are neat features of older Fairmont cars. |
|
|
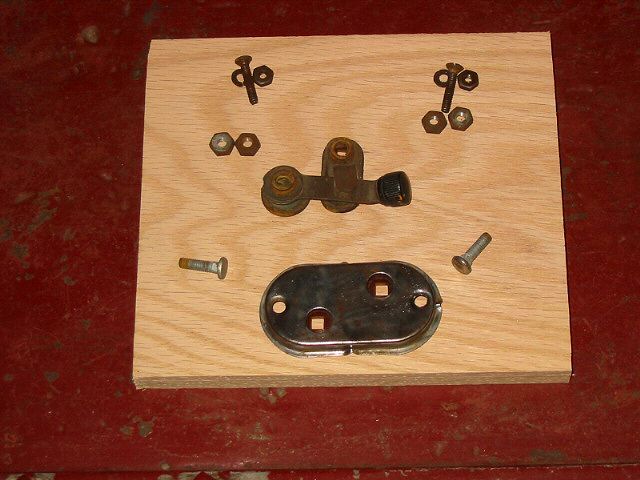
Painting the rail sweep hardware. These do look like original Fairmont stock but the mounting brackets are definitely home-made in the DSS&A workshops. |
|
|
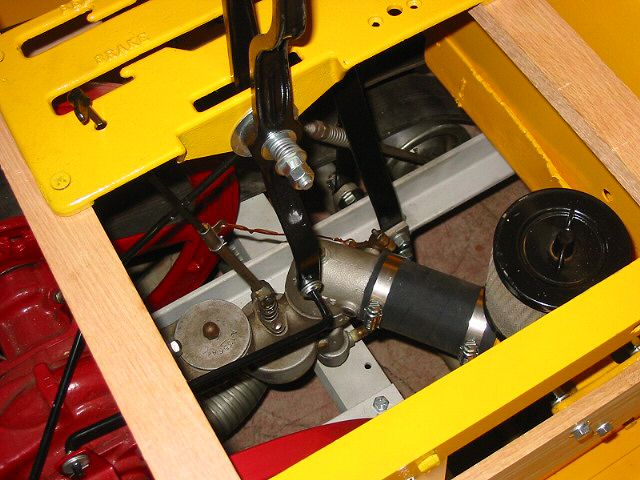
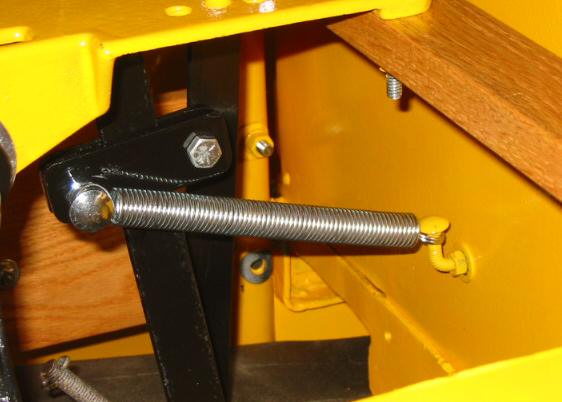
Because of the custom construction, it was not possible to do a standard spring mount for the brake lever. I went for this setup. The DSS&A would have done something like this! |
|
|
Painting the front panels - brush painting with enamel makes for a very thick, hard coat. |
|
|
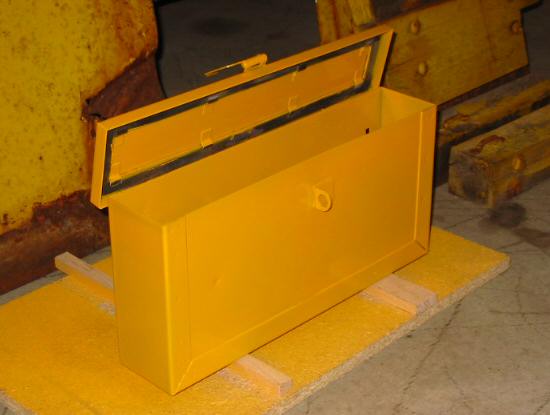
The single toolbox on the car gets it's application of yellow paint. I sprayed this on from a can. |
|
|
Here is the completed deck after being varnished. It came with 3 latches instead of 4 and I kept it that way. |
|
|
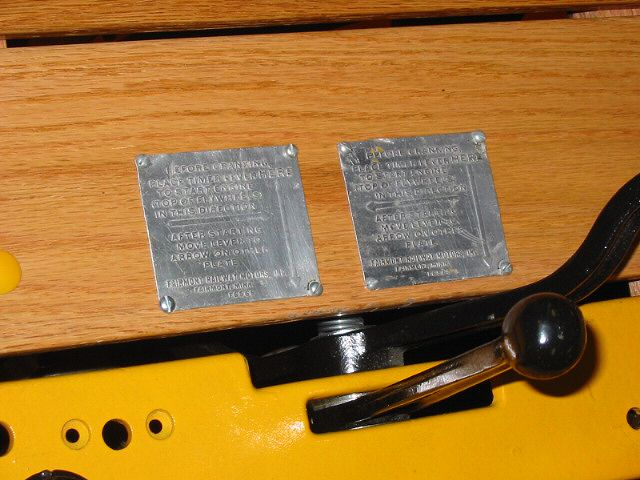
The plates for the timer lever instructions are of a type that I've never seen before. These must have been in use in early Fairmont cars. |
|
|
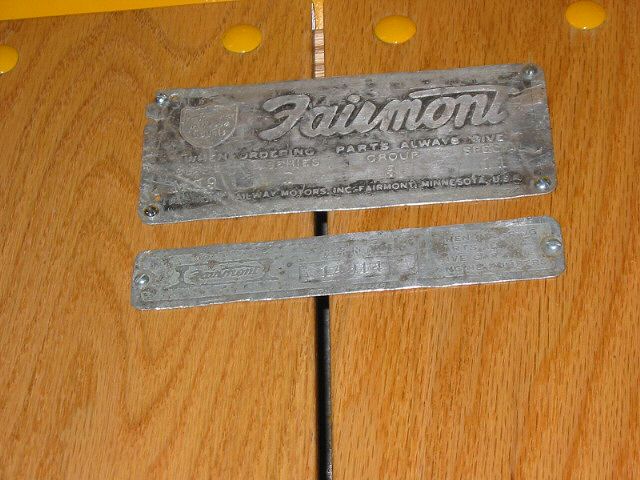
Here we have the original plates for the car number and the model and type of the car. It's amazing that they survived all these years. They do show that this was a car shipped to the DSS&A in Marquette. |
|
|
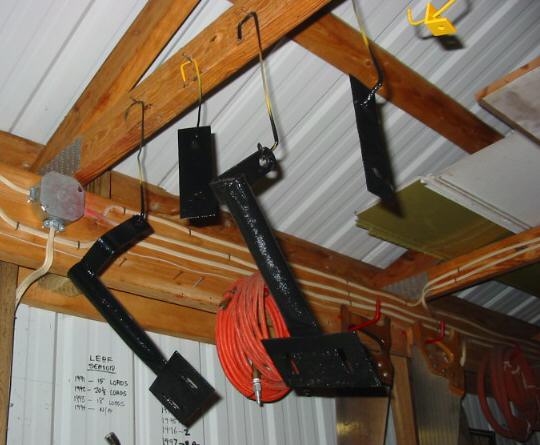
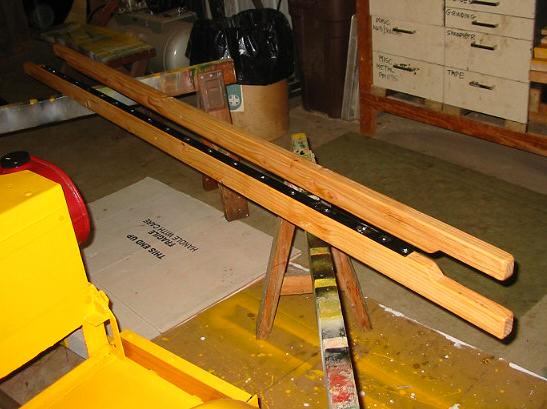
I bought a Douglas Fur 2x6 and cut it up into two lift handles. Note that each handle has a steel strip underneath that gives it more strength and prevents any snapping of the wood. I decided to varnish the wood so here are the final lift handles. |
|
|
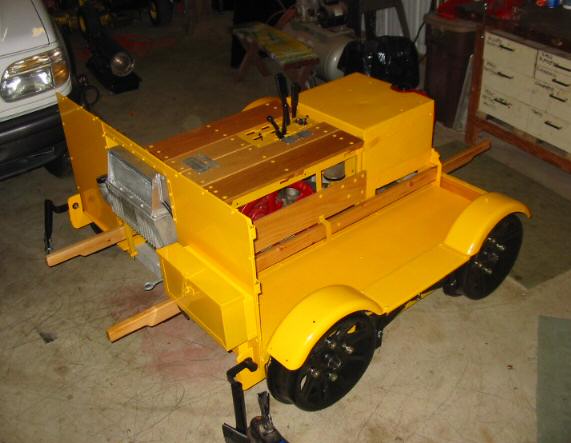
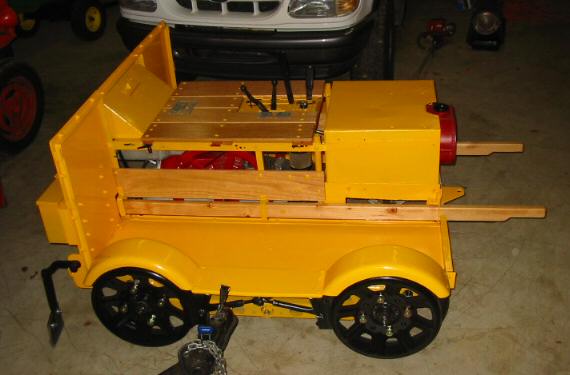
And here is the car 99.9% done. It took 3 years of determined effort but it looks great and it is definitely a unique Fairmont M19, restored as it looked after the DSS&A had rebuilt it in their Marquette workshops. |
|
|
All I can think of now for the car is getting some decals of "Soo" and "R1" for the front and a crank handle bracket to go on the fender. |
|
|
I didn't get a chance to test drive it in 2006. It was bought in April 2007 and is returning to home rails in South Shore country! |
Last Edited 28 January, 2018